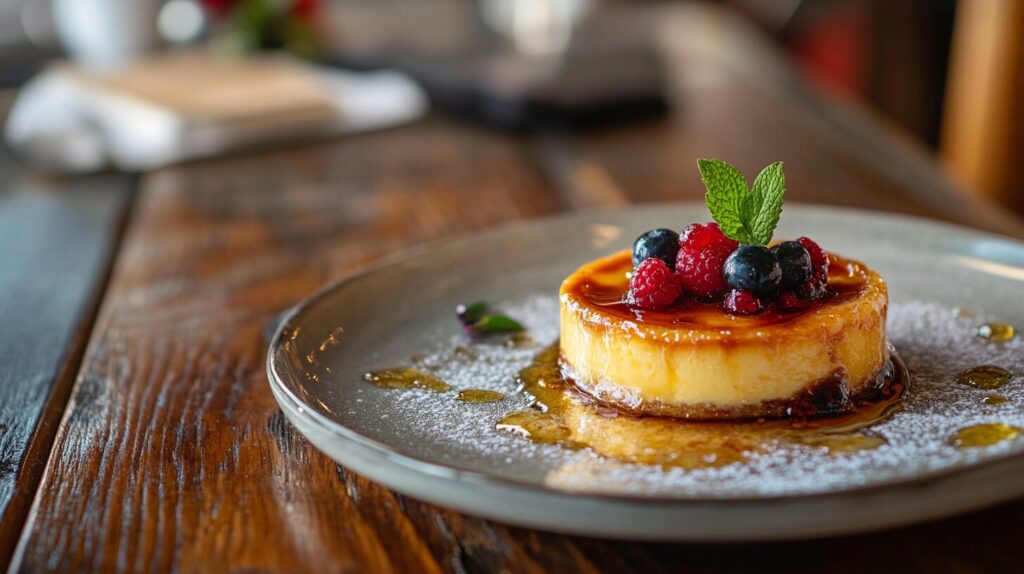
Crème brûlée is the epitome of elegance in the dessert world — a rich, creamy custard topped with a perfectly caramelized sugar crust that shatters like delicate glass. But what if you find yourself craving this decadent delight and gasp — there’s no kitchen torch in sight? 😱 Don’t worry, friend! You don’t need fancy gadgets to make magic happen in your kitchen. In this article, I’ll walk you through some creative alternatives for getting that classic caramelized finish, even without a crème brûlée torch.
Let’s dive in, shall we? 🍮
Table of Contents
The Importance of a Torch in Crème Brûlée Preparation
Before we explore the alternatives, let’s quickly cover why a torch is the go-to tool for caramelizing crème brûlée. A kitchen torch gives you precise control over the heat, allowing you to caramelize the sugar evenly and quickly without heating the custard underneath. The result? A crispy, glass-like sugar top and a cool, creamy base.
But don’t let the lack of a torch discourage you. The goal here is simple: find ways to achieve that same crunch and contrast using tools you probably already have in your kitchen. And trust me, you can absolutely pull it off!
“In cooking, creativity is your greatest tool. If you don’t have what you need, innovate with what you have!” 👨🍳
Alternative Tools for Achieving the Perfect Sugar Crust
So, what’s the game plan when a torch isn’t an option? The good news is, there are multiple ways to achieve that gorgeous caramelized top. Let’s go over these methods one by one.
Using the Oven Broiler Method for Crème Brûlée
One of the most reliable alternatives to a kitchen torch is your oven’s broiler. The broiler generates high heat from above, which can caramelize sugar effectively. It’s not exactly the same as using a torch — it takes a bit longer and needs careful attention — but it works surprisingly well!
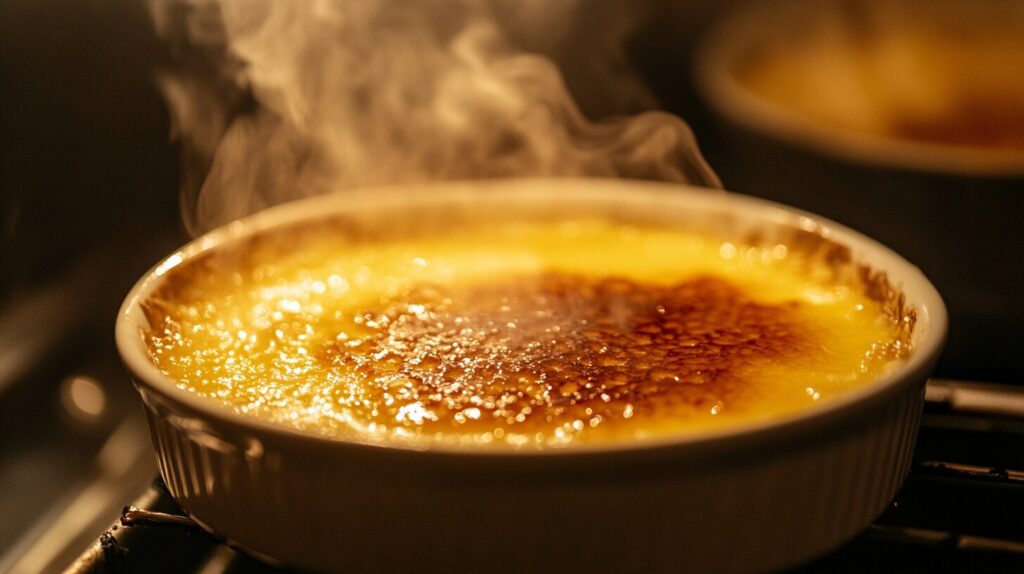
How to Broil Your Crème Brûlée:
- Chill the Custard: First, make sure your crème brûlée is fully set and chilled. This helps keep the custard firm while the sugar caramelizes.
- Add the Sugar: Sprinkle an even layer of granulated sugar on top of the custard. Try to cover the entire surface.
- Preheat the Broiler: Turn your oven’s broiler on high and let it heat up. You want it super hot.
- Position the Ramekins: Place your ramekins on a baking sheet and set them on the top rack in the oven, about 4-6 inches from the heat source.
- Watch Closely: This is crucial! Keep a close eye on the sugar. It will start to bubble and caramelize within a few minutes. If you look away, you might end up with a burnt mess!
- Cool and Serve: Once the sugar is golden brown, carefully remove the ramekins and let them cool for a few minutes before serving.
Pro Tip: Rotate the ramekins halfway through to ensure even caramelization. Nobody wants a half-burnt sugar crust! 🍯
Caramelizing Sugar with a Lighter
If you’re feeling adventurous and have a bit of patience, a simple butane lighter can get the job done. Is it ideal? Not exactly. But in a pinch, it’s a quirky hack that works!
How to Use a Lighter for Crème Brûlée:
- Sugar Layer: Just like before, sprinkle a thin, even layer of sugar over the chilled custard.
- Flame Technique: Hold the lighter close to the sugar and move the flame around in a circular motion. Keep the flame about half an inch away to avoid burning the sugar.
- Patience is Key: This method takes a little longer. Be patient and keep moving the flame until the sugar melts and caramelizes.
Warning: This method can get hot quickly. If your hands get tired or you start feeling the heat, take a break. Safety first! 🧯
“Sometimes, the simplest tools can surprise you with their versatility.”
The Spoon Method: A Surprisingly Effective Alternative
Bet you didn’t see this one coming! The spoon method involves heating a metal spoon and using it to melt and caramelize the sugar. It sounds odd, but trust me — it works like a charm.
How to Caramelize Sugar with a Spoon:
- Prepare the Custard: Sprinkle a layer of sugar on top of your chilled custard.
- Heat the Spoon: Hold a metal spoon over an open flame (from your stove or a candle) until it’s red hot. Yes, red hot!
- Caramelize the Sugar: Quickly but carefully press the hot spoon onto the sugar. The intense heat will melt and caramelize the sugar instantly.
- Repeat: Continue heating the spoon and pressing it onto different areas of the sugar until the entire surface is caramelized.
Safety Tip: Use tongs or oven mitts to hold the spoon — it gets very hot! Also, don’t touch the spoon until it cools down. We want caramel, not burnt fingers! 🙅♂️
Step-by-Step Guide to Broiling Crème Brûlée
Since the oven broiler is one of the most accessible methods, let’s break it down step by step to ensure your crème brûlée comes out perfectly.
Tips for Ensuring Even Caramelization Under the Broiler
- Even Sugar Distribution: Make sure the sugar layer is consistent. A thin, even layer caramelizes better than a thick one.
- Cold Custard: Keep the custard as cold as possible. This helps prevent it from overheating while the sugar melts.
- Don’t Walk Away: The broiler works fast — caramelization can go from perfect to burnt in seconds. Stay alert!
- Rotate as Needed: If your oven has hot spots, rotate the ramekins for even browning.
Common Mistakes to Avoid When Using the Broiler
- Too Much Sugar: A thick layer of sugar takes longer to caramelize and might burn before it fully melts.
- Warm Custard: Starting with warm custard will lead to a soupy mess. Always chill it first!
- Ignoring the Process: If you leave the ramekins unattended, you might return to charcoal sugar. Not fun!
How to Use a Hot Spoon for Crème Brûlée Caramelization
Now that we’ve touched on the spoon method, let’s dig deeper into the details to ensure you get it just right. This old-school trick is surprisingly effective and can deliver a beautifully caramelized sugar crust — all without a fancy kitchen torch.
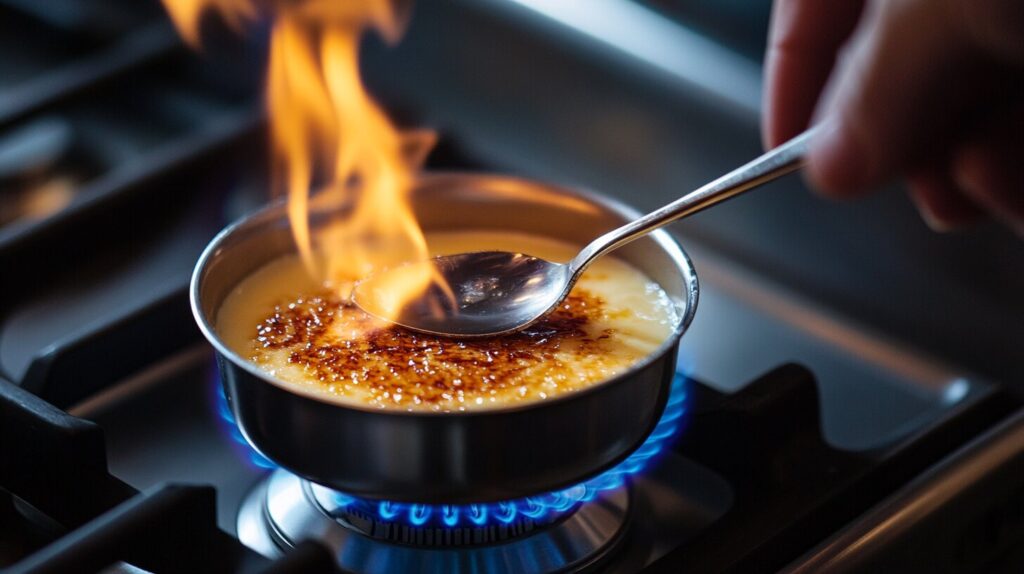
Heating the Spoon Correctly for Best Results
Getting the spoon hot enough is the key to this method’s success. If the spoon isn’t scalding hot, it won’t caramelize the sugar properly. Here’s how to heat it up safely and effectively:
- Select a Sturdy Metal Spoon: Avoid using spoons with plastic handles or decorative coatings, as they may melt or burn.
- Heat Over an Open Flame: Hold the spoon’s bowl over an open flame — whether it’s a gas stove, candle, or even a lighter. You want to heat the spoon until it’s visibly red hot. This usually takes about 1–2 minutes.
- Use Tongs or Oven Mitts: Protect your hands by using tongs or an oven mitt. The spoon will be extremely hot, and you don’t want to risk burns.
- Consistency is Key: If you have multiple ramekins to caramelize, you’ll need to reheat the spoon between each one.
“A red-hot spoon is like a miniature branding iron — intense, focused, and ready to deliver that sweet crunch!”
Safety Tips When Using the Spoon Method
This method can be a bit intimidating, especially if you’re not used to handling hot metal. Here are some safety tips to keep things smooth and burn-free:
- Don’t Rush: Take your time and make sure the spoon is properly heated before touching the sugar.
- Keep Water Nearby: Have a bowl of cold water nearby to cool the spoon quickly if needed.
- Ventilation is Important: Heating metal can sometimes produce a slight odor or smoke, so ensure your kitchen is well-ventilated.
- Never Touch the Hot Spoon: It may seem obvious, but it’s worth emphasizing. Let the spoon cool completely before handling it without protection.
Why a Lighter Can Work in a Pinch
Using a lighter to caramelize crème brûlée might sound like a last-ditch effort, but hey — sometimes you’ve got to work with what you’ve got! This method requires a bit of finesse and patience, but if done correctly, it can produce a satisfying sugar crust.
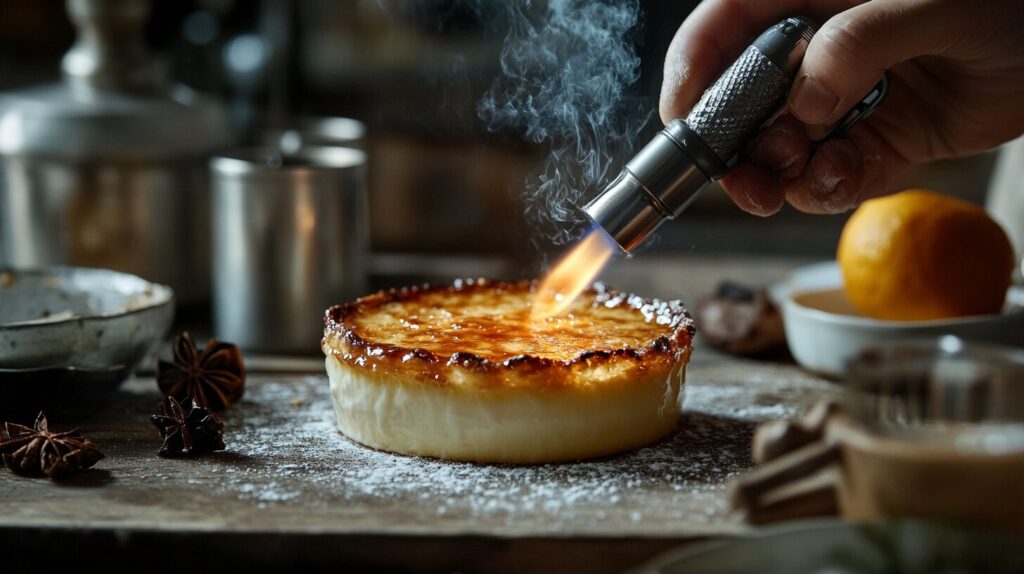
Techniques for Effective Sugar Caramelization with a Lighter
Here’s a step-by-step guide to making the lighter method work for you:
- Choose a Long-Stem Lighter: A long-stem butane lighter (like the ones used for grills or candles) works best. It keeps your hand farther from the heat source.
- Sprinkle an Even Layer of Sugar: As always, consistency is your friend. An even layer of sugar ensures more uniform caramelization.
- Apply the Flame Gradually: Hold the lighter’s flame about half an inch above the sugar. Move the flame in small, circular motions to heat different parts of the sugar without burning it.
- Patience is Key: Unlike a torch, a lighter has a smaller flame, so this method takes a little longer. Be patient and keep the flame moving.
“Think of the lighter method like slow-roasting marshmallows over a campfire. It takes time, but the reward is sweet and satisfying.” 🔥🍬
Safety Precautions When Using a Lighter
- Avoid Flammable Materials: Make sure there are no paper towels, cloths, or other flammable materials nearby.
- Keep a Steady Hand: Hold the lighter steady to prevent the flame from sputtering or going out.
- Don’t Overdo It: If the sugar starts smoking too much, pull the flame away and let it cool for a few seconds before continuing.
The Best Kitchen Tools for Sugar Caramelization Without a Torch
While broilers, lighters, and spoons are great makeshift tools, there are some specialized kitchen gadgets that can make the process easier. Let’s explore these options.
Using a Searing Iron for a Professional Finish
A searing iron, often called a “salamander” or branding iron, is a professional tool used in some kitchens for caramelizing sugar. It’s a flat metal disk with a long handle that you heat until it’s glowing hot.
How to Use a Searing Iron:
- Heat the Iron: Place the searing iron over a gas flame or on an electric stove until it’s red hot.
- Press onto Sugar: Gently press the hot disk onto the sugar layer, holding it in place for a few seconds until the sugar caramelizes.
- Repeat as Needed: Reheat the iron between each ramekin to maintain the necessary heat.
Pros:
- Even caramelization
- Professional-level results
Cons:
- Requires a searing iron (which not everyone has)
- Needs careful handling due to extreme heat
Electric Caramelizers: A Modern Solution
If you’re looking for something a bit more high-tech, electric caramelizers are a great option. These gadgets heat up quickly and are designed specifically for caramelizing sugar on crème brûlée.
Benefits of Electric Caramelizers:
- User-Friendly: Just plug it in, let it heat up, and apply it to the sugar.
- Consistent Results: Offers more control and consistency than a broiler or lighter.
- Safety: Lower risk of burns compared to open flames or hot spoons.
“Think of an electric caramelizer as the smart, no-fuss cousin of the kitchen torch.” 🤖🔥
Comparing Torch Alternatives: Pros and Cons
Choosing the right torch alternative depends on your tools, skill level, and patience. Let’s break down the pros and cons of each method to help you decide.
| Method | Pros | Cons |
|---|---|---|
| Oven Broiler | Easy, widely available | Risk of overheating custard |
| Hot Spoon | Simple, no special tools required | Requires careful handling of hot metal |
| Lighter | Accessible, no special equipment needed | Slow, requires patience |
| Searing Iron | Professional finish, even caramelization | Not commonly found in home kitchens |
| Electric Caramelizer | Convenient, consistent results | Requires purchasing an extra gadget |
Frequently Asked Questions About Torch Alternatives
When it comes to making crème brûlée without a torch, there are always a few burning (pun intended) questions! Let’s tackle some of the most common ones to ensure you’re well-equipped for caramelization success.
Can I Use a Hair Dryer or Heat Gun for Crème Brûlée?
This is a popular question! Technically, you can use a heat gun because it produces high, directed heat — similar to a kitchen torch. However, a regular hair dryer? Not so much. Hair dryers don’t get hot enough to caramelize sugar effectively.
A heat gun works best if you:
- Have Patience: It might take a minute or two to achieve caramelization.
- Control the Distance: Hold the heat gun about 2–3 inches above the sugar.
- Work Safely: Be cautious, as heat guns get extremely hot.
“A heat gun is like a turbo-charged version of a kitchen torch, but safety is key!” 🛠️🔥
Will My Oven Broiler Work for All Sugar Types?
Not all sugars are created equal! The broiler method works best with granulated white sugar. Brown sugar, raw sugar, or powdered sugar can burn too quickly or clump together, making it hard to achieve that smooth, glass-like crust.
Stick with these sugar tips:
- Granulated Sugar: Melts and caramelizes evenly.
- Brown Sugar: Can work, but be careful — it burns fast due to the molasses content.
- Powdered Sugar: Not ideal, as it melts too quickly and can turn into a sticky mess.
Is the Texture the Same Without a Torch?
Great question! Using a torch gives you instant, high-intensity heat, which creates a crisp and thin caramelized layer without affecting the custard. Alternative methods (like the broiler or hot spoon) can still achieve a delicious crunch, but the texture might be slightly different.
For example:
- Broiler: Can sometimes result in a thicker caramel layer because of the longer heating time.
- Hot Spoon: Creates smaller caramelized patches rather than one smooth surface.
- Lighter: Can result in a slightly uneven caramelization, but still delicious.
Remember, while the texture might vary slightly, the flavor and experience of cracking that sugar crust will still be delightful! 🍯
Can I Make Crème Brûlée Without Caramelizing the Sugar?
Technically, yes — but where’s the fun in that? Caramelizing the sugar is what gives crème brûlée its iconic crunch. Without it, you’re left with a simple custard. Delicious, sure, but it misses that magical contrast between the creamy custard and the crispy sugar.
If you’re in a real pinch and can’t caramelize the sugar, you can top your custard with other things like:
- Fresh Berries: Adds a pop of freshness and color.
- Shredded Coconut: For a tropical twist.
- Chocolate Shavings: A rich and indulgent alternative.
But let’s be real — nothing quite compares to the joy of tapping a spoon on a caramelized sugar crust.
Creative Dessert Ideas Using Torch Alternatives
You’ve mastered crème brûlée without a torch, but why stop there? There are so many other desserts where these caramelization hacks can shine! Let’s explore some fun and creative ideas.
Caramelized Banana Tarts 🍌🥧
Take your banana tarts to the next level with a caramelized sugar topping. Follow these steps:
- Prepare the Tart: Make a simple pastry shell and fill it with custard or whipped cream.
- Slice the Bananas: Arrange banana slices on top.
- Caramelize the Sugar: Sprinkle a thin layer of sugar over the bananas and use the broiler, hot spoon, or lighter method to caramelize.
The result? A dessert that’s crunchy, creamy, and bursting with banana goodness!
Caramelized Fruit Salad 🍓🍍
Who says fruit salad has to be boring? Add a caramelized twist to elevate this simple dish.
- Choose Your Fruits: Strawberries, pineapple, peaches, and apples work best.
- Sprinkle Sugar: Lightly coat the fruit with sugar.
- Caramelize: Use the broiler or hot spoon method to create a thin caramel layer.
It’s like having a brûléed fruit salad — fancy enough for guests, easy enough for everyday indulgence!
Brûléed Oatmeal or Porridge 🥣🔥
Breakfast just got an upgrade! Add a caramelized sugar topping to your morning oatmeal for a sweet, crunchy surprise.
- Prepare Oatmeal: Cook your oatmeal as usual.
- Top with Sugar: Sprinkle a thin layer of sugar on top.
- Caramelize: Use a hot spoon or lighter to brûlée the sugar.
This turns a simple bowl of oats into a breakfast worth waking up for!
Final Tips for Perfect Crème Brûlée Without a Torch
Let’s wrap things up with some final tips to ensure your crème brûlée always hits the mark, even without a kitchen torch.
Patience Is Your Secret Ingredient
Whether you’re broiling, using a spoon, or a lighter, patience is key when you don’t have a Crème Brûlée Torch. Take your time to achieve that perfect caramelization. Rushing the process can lead to uneven or burnt sugar.
Keep Your Custard Cold
Always chill your custard thoroughly before caramelizing the sugar. A cold custard holds up better to heat, keeping that creamy texture intact.
Experiment and Have Fun!
Cooking is all about creativity and flexibility. Don’t be afraid to experiment with different methods, sugar types, or toppings. Who knows — you might just discover your own signature twist on crème brûlée!
“When life gives you custard and no torch, make caramel magic with what you’ve got!” ✨🔥
Conclusion
There you have it! A complete guide to making crème brûlée without a torch — and a whole lot more. From using your oven’s broiler to heating up a spoon or wielding a lighter, you now have several tricks up your sleeve to achieve that delightful caramelized sugar crust.
Remember, cooking is about making the most of what you have and having fun along the way. Whether you’re brûlée-ing bananas, fruit salads, or even oatmeal, these techniques can unlock a world of creative possibilities. So get in that kitchen, channel your inner chef, and enjoy the sweet, crunchy goodness of your creations! 🍮🔥
Explore More Delightful Dessert Ideas 🍮✨
If you loved discovering how to make crème brûlée without a torch, you’ll adore these delicious dessert guides! For more tips on perfecting your brûlée, check out our guide on How Should Crème Brûlée Be Served?.
Interested in unique twists on classic desserts? Try this amazing Crab Brûlée Recipe for a savory-sweet delight.
And if you’re a fan of creative baking, don’t miss our step-by-step guide on How to Make the Viral Crookie.
These recipes will inspire your next kitchen adventure! 🍰👩🍳
